Without motion detection, your Arlo camera won’t send your notification alerts or record once triggered by motion or sound. This beats the essence of the security camera as it should primarily be on the look and notify you of any incidents.
I’ll help you identify why the camera detection is failing and offer the necessary troubleshooting steps to get the camera running.
Why Are My Arlo Cameras Not Picking Up Motion?
Arlo camera won’t detect motion due to improper camera settings and positioning, network connection, or firmware issues. Ensure the camera is hooked to your network or base station and motion detection is enabled under the camera settings. Again, adjust the sensitivity levels to optimize the camera’s detection.
An Arlo security system comprises several components working to provide a wholesome experience. Failure of one section, say network connection, could comprise the system.
Here are the common reasons for motion detection failure on Arlo cameras;
- Poor or no network connection – camera won’t sync to the cloud servers
- Improper camera settings – motion detection, sensitivity, notification, range issues
- Poor camera positioning – motion movement direction, presence of transparent materials, etc.
- Low battery capacity or power supply issues
- You have set mode or rule affecting the camera’s detection
- Software bugs or outdated firmware versions
- Arlo server outages
- Faulty device or sensor
Primarily, Arlo cameras require a solid internet connection with motion detection and notification sending enabled to detect and send alerts once triggered.
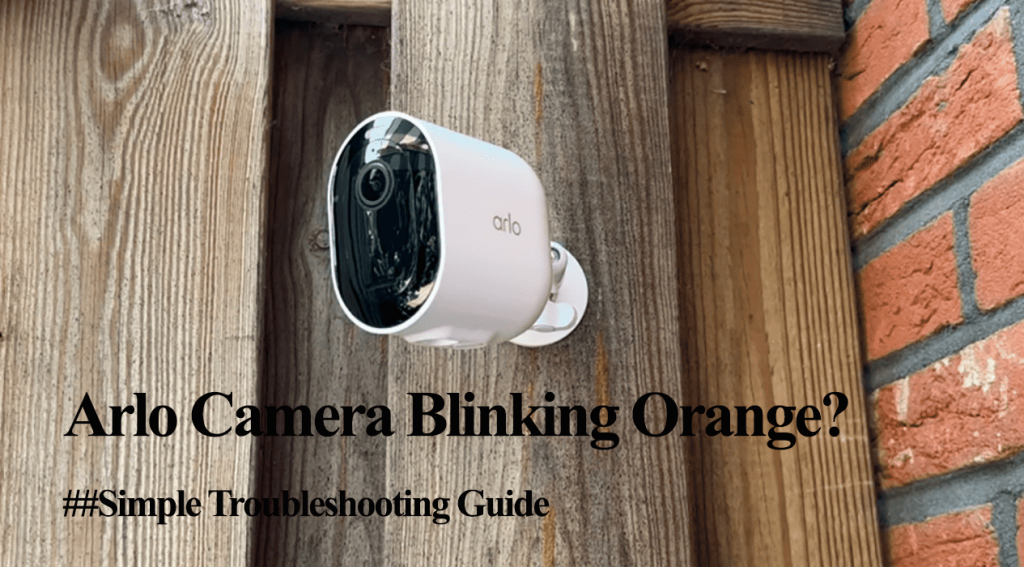
Observing the camera’s LED indicator is handy when detecting network disconnection issues. A flashing orange LED light means the camera is disconnected or running on a low battery.
Fixing Arlo Camera Not Detecting Motion
The Arlo camera is pretty useless without the motion detection feature; however, you can still access live streams if the camera is online.
First, confirm the power connection or battery capacity. Primarily, you should receive a low battery notification when the battery level falls below 15%.
In case you missed the alerts, you can check the battery status on the Arlo app;
- Open the App on your mobile device
- Navigate to your Devices tab
- Check the battery level on the bottom of the device card. Alternatively, select the device and check on the device settings tab.
Try these troubleshooting solutions to get the detection working;
Confirm Your Camera Is Online
To access the camera, it must be online and in sync with the cloud servers. It sounds trivial, but it won’t hurt to take a look.
Ensure that the camera is connected to a strong network. For base station models, it should be in sync with the base station.
Observe the base station and camera LEDs to confirm connection – you should see solid Blue for 1-LED Hub or Green for the three 3-LED Base stations.
If the camera is disconnected or out of sync, reboot your device and try recycling the camera.
Getting a live feed on the app confirms that the camera is online. Remember, you can access live feed for base station models on a local connection. Thus, use mobile data to test the live stream.
Motion Detection and Sensitivity Settings
Irrespective of your Arlo camera model, motion detection and sensitivity level settings affect how activities in its field of view trigger the camera.
Motion detection must be enabled, and a suitable sensitivity level must be set for the select camera mode.
Again, you should enable push notifications and email alerts on your modes to receive alerts on your mobile devices.
Arlo offers different modes to fine-tune your camera experience. With modes, you decide how your cameras respond to triggers at different times.
Generally, the Arlo camera has four modes;
- Armed – the camera is set to detect and record motion
- Disarmed – The camera won’t detect motion and audio triggers
- Schedule – Specify at what times you want your system armed or disarmed
- Geofencing – Enable and turn off your settings based on your device’s location
Here I’ll focus on the armed option; if you have customized the other options, double-check to ensure there aren’t blocking your camera from detecting.
The armed mode lets you set your camera’s motion detection, sensitivity level, video recording, etc. Low or high sensitivity affects how easily your camera is set off.
To check your Armed mode settings;
- Open the Arlo Secure app or log in to your account
- Select the “Mode” option
- Choose the affected camera
- Select the Armed setting by hitting the pencil icon
- Tap the pencil icon under the “Rules” option
- Edit the “Motion is detected” section – increase the sensitivity level and save
- Check the Send Notification section
- Ensure “Record video” is checked
- Hit Done to save your changes
If you made any changes, trigger motion in the camera’s view and confirm your sends detection alerts to your mobile device.
Power Cycle the Camera and Network Device
Suppose all your camera settings are on point; power cycle to refresh and reinitialize the connection. It could be that a software glitch is affecting the motion detection process.
Sometimes, especially after a firmware update, the camera doesn’t synchronize the old settings or messes with your existing customization. Resyncing it to your network or base station jogs its memory.
A power cycle refreshes your network and clears IP conflicts. To perform one, unplug the primary router from the power source, let it discharge for a minute, and hook it back.
Follow these steps for the camera;
- Pull the battery from the camera first
- Remove the camera from the account in the app
- Resync the camera to your network or Base via the Arlo Secure app
Utilize The Motion Testing Feature
The Arlo app offers motion testing to help you customize your camera’s positioning and fine-tune your sensitivity setting.
To perform a motion sensitivity test on your camera;
- Open the Arlo Secure app >
- Settings > My Devices > Select your device
- Device utilities > Motion Detection Test
- Try different sensitivity levels starting from low to high > The camera’s front LED light blinks when motion is detected
- Identify the sensitivity sweet spot for your camera
Notably, the test doesn’t update your motion detection settings but helps you find a sweet sensitivity level for your camera. You can then update your camera settings.
Check Your Camera Positioning
The camera positioning relative to your network and base station affects the motion detection capability. You want your camera in a network-rich zone within your network and base station range.
According to Arlo, you can place the camera within 300 (90 meters) feet of the base station under a clear line of sight. This range reduces as the number of obstacles and interferences increases.
With a healthy connection, you should see 3 or 4 Wi-Fi bars on the camera tile in the app.
When installing your camera consider the field of view, minimize blind spots, optimize height and angle, manage distance from the target, ensure proper lighting, and reduce false alarms caused by environmental factors.
Proper positioning enhances the camera’s performance and accuracy in detecting motion events.
Additionally, avoid positioning the camera behind glass or transparent objects, as they can interfere with the motion detection sensor.
Reset The Camera
Factory resetting the camera clears corrupt config files affecting the detection. A fresh start could be the key to onboarding your cameras.
Depending on your camera model, you might have to release the camera from the housing to find the sync button.
To reset the camera, press and hold the SYNC button for 15 – 20 seconds. Once the camera LED blinks blue, release the button and let the reset process take the course.
Next, remove the camera from the Arlo app.
With the camera reset and in pairing mode, open the Arlo app > add new device > Cameras > Select the camera model > Choose the Base Station > Follow the In-app Prompts to Sync the camera.
Once online, test the live stream to confirm that your camera is in sync with the cloud servers. Afterward, customize the detection settings under each Mode.
Final Thoughts
The effectiveness and most security camera features are tied to motion detection functionality. Without it, nothing much goes on with your security setup – no alerts, recording, etc.
The basis is to ensure motion detection and notifications are enabled on the set mode and the camera is online.
That said, ensure your camera runs on the latest firmware for updated features and bug fixes. However, updates sometimes mess with the system before stable versions are released.
If the camera doesn’t bulge, contact Arlo support, it could be a case of a faulty sensor or internal component – mainly if the issue only affects one camera, with others working fine.


