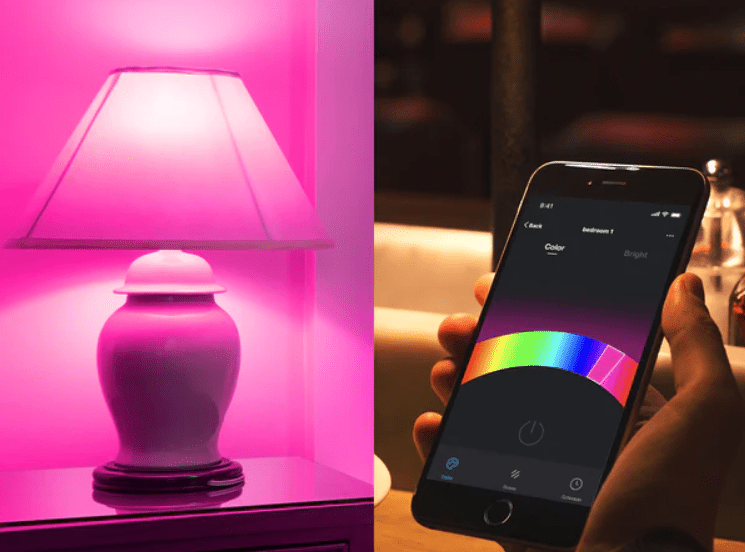
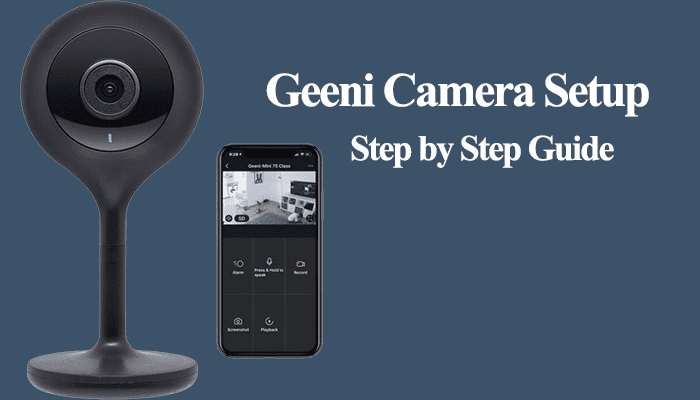
Geeni offers affordable lighting options to smart light lovers. Once you have purchased the smart light, you link it to your home network. So, how to connect your Geeni smart light?
To hook your Geeni light to your network, you need the Geeni app, a stable Wi-Fi network, and a mobile device. Once your light is connected, you can integrate it into your virtual assistant (Alexa or Google Home) to enable voice command control.
How To Connect Geeni Light to Wi-Fi
To connect your Geeni light bulb, download and install the Geeni app onto your mobile device and create and verify your account. Once the account is up and running, add your Geeni devices to it through the Geeni app.
Geeni smart lights support the 2.4 GHz Wi-Fi frequency. They aren’t compatible with the 5 GHz frequency band. Therefore, ensure you select the 2.4 GHz option of your Wi-Fi SSID.
If your router broadcasts both bands on a single SSID, turn off the 5 GHz option on the router admin panel to avoid conflicts. Alternatively, manage your Wi-Fi network and separate the 2.4 and 5 GHz into separate networks – each with a different SSID and password.
Again, to avoid connection failure, disable VPN and ad guard on the mobile device you intend to use. Ensure the lamp or light is closer to your router for a strong signal.
Ensure that you grant Bluetooth and location permissions to the app. This is a requirement to access devices connected to your home network.
Here Is How to Add Your Geeni Light to The App;
Install the Geeni app and create > verify > login to your Geeni account. Also, ensure the mobile device is connected to the same 2.4 GHz Wi-Fi network.
Connect the bulb to a standard fixture; it blinks to indicate it’s in pairing mode. If it doesn’t, reset it – turn it on and off three consecutive times.
- Open the Geeni app > tap the “Add Device” button or the top right “+” icon
- Select the device category. Choose Smart Lighting from the list.
- Connect to your network. Select the 2.4 GHz Wi-Fi SSID and enter the correct password. Tap Next Step to continue.
- Select the setup mode. Choose the Easy Mode if the bulb is flashing quickly or the Manual Mode for slowly flashing bulbs.
- To enter the slow flashing mode, you must reset the bulb twice. The Manual Mode lets you connect to the bulb’s hotspot before finishing up the setup. Tap the “Connect now” button to go to your phone’s settings, connect to the hotspot indicated on the app, and return.
- Adding device. Let the app find, register, and initialize the bulb. Once the device is added successfully, tap the pencil icon to Rename it > save > tap Done.
- Select the device from the home screen to control and customize it to your liking.
That’s it; you have successfully added the light. Turn it off and on, change color, etc., to test its performance.
If you experience trouble connecting your lights, here are curated troubleshooting tips to try; Geeni Light won’t connect to a Wi-Fi network.
Connect Geeni Lights to Alexa and Google Home
After setting up your lights on the Geeni app, linking to your virtual assistant unravels a new, more intelligent world. It allows you to use voice control to manage your lights, add the lights to your automation and Alexa routines, etc.
But first, you must hook Geeni to your assistant.
Linking Geeni to Alexa
Geeni Alexa skill allows you to discover and add your Geeni devices to your Alexa setup. From the comfort of your couch, you can instruct Alexa to dim, increase brightness, set scenes, and much more.
To link Geeni to Alexa, enable the Geeni Alexa skill and run the “Alexa, discover devices” command.
- Open the Alexa app
- Tap More on the bottom menu
- Select “Skills & Games” to load the skills tab.
- Type Geeni on the search bar and hit enter > select the Geeni Skill from the list that pops up.
- Tap “Enable to Use” on the skill window.
- Login to your Geeni account to authorize Alexa. If Alexa automatically recognizes your account, tap the “Agree and Connect” button.
- Account Linking successful > tap Next for Alexa to discover your Geeni devices. Also, you can use the command “Alexa, discover my devices” any time you add a new device to the Geeni app.
You have successfully added your Geeni light to the Alexa setup. Now, add them to the appropriate room, your routines, automation, and test various voice control commands.
Adding Geeni to Google Home
Linking your Geeni account to Google home adds your devices and opens the door for Google home commands. Through a simple command like, “Hey Google, turn off the bedroom light,” the light is off without lifting a finger.
- Open the Google home app
- Tap on the top left “+” icon > Set up device
- Select the “Works with Google” option
- Search Geeni on the Home control search bar > Select the Geeni from home control partners
- Tap continue on the account linking window
- Enter your Geeni account details and authorize google to access devices. If Google home auto-detects your signed account, tap the “Agree and link” button.
- Let google discover and add your Geeni device.
Customize your lights for the home experience and enjoy your new additions.


