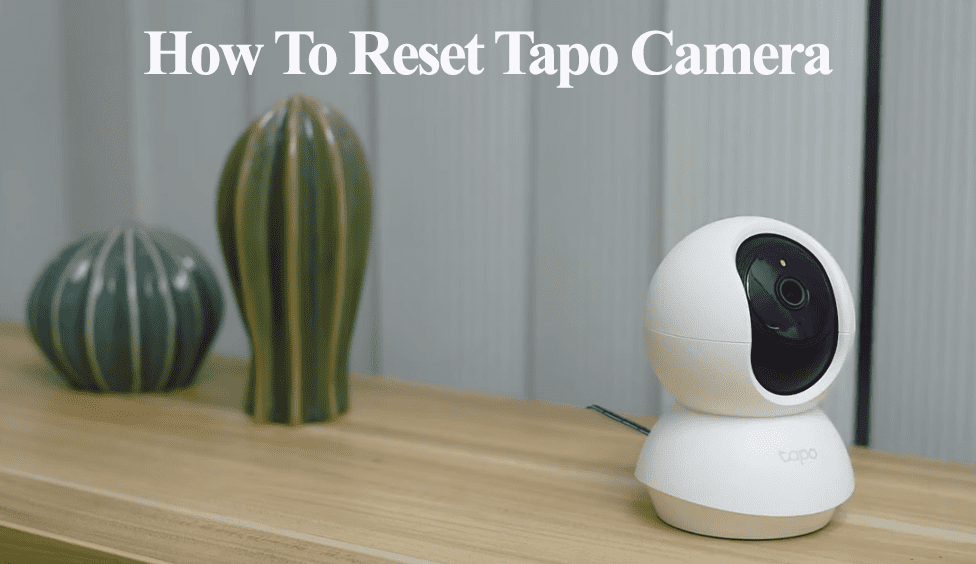
TP-Links Tapo brand boosts some decent camera models with excellent features. Once you have purchased your camera, setting it up on your network is the next step. This allows you to test the cameras and customize them to your liking via the app. So, how to set up the Tapo camera?
To connect your Tapo camera, you need a stable internet connection, mobile devices, and the camera in pairing mode. Once the camera connects to your network, you can integrate third-party virtual assistants for voice control.
In this, I’ll walk you through the step-by-step procedure to connect your Tapo camera to your home network. Let’s get going.
How To Setup Tapo Camera
To connect Tapo smart camera to your home network, download the Tapo app, connect a stable Wi-Fi network on your phone, power on the cam to enter pairing mode, and use the Tapo smart app to connect and configure your camera.
Prerequisites before setting up the camera
- Ensure your mobile phone is connected to a 2.4 GHz Wi-Fi network. If your router broadcasts 2.4 and 5 GHz on a single SSID, separate them into different entities. Alternatively, turn off the 5 GHz option during the setup process.
- Disable VPN and Ad guard on your mobile device
- Set up the camera near the router, then move it to the installation location
- Ensure your Wi-Fi security encryption is set to WPA/WPA2-PSK protocol.
That said, download the Tapo app (iOS or Android) onto your mobile device and register an account. Set up your location, agree to the terms and conditions, and verify your account.
Also, turn on your location and Bluetooth. Grant the Location access permission as it’s required to discover devices on your network.
Note that Tapo and Kasa products aren’t compatible despite being under TP-Link. Be sure to get the right app for each brand.
Connecting to Wi-Fi
With the app ready, adding smart devices is straightforward. However, if your camera model requires a hub, ensure the hub is set up and connected to your network.
Power up the camera by connecting it to a working outlet. Give it a moment to boot up and enter pairing mode – the LED indicator light blinks red and green continuously.
The Tapo C420 model is battery-powered; charge them up and insert the batteries to power it up.
If this isn’t the case, reset the camera to enter setup mode. Press and hold the reset button for 5 – 10 seconds until the LED blinks red.
Setting Up;
- Open the Tapo app on your mobile device
- Tap the “+” icon to add a new device
- Select the device category. “Cameras” is the first and default option on the app.
- Choose your camera model. Select your specific Tapo camera model to proceed with the setup process – For example, tap the “Tapo C200” model.
- Confirm the camera is in pairing mode and tap Next. The camera’s LED flashes red and green, indicating the camera is ready to pair.
- Connect to the camera’s hotspot. The app prompts you with a “Connect to device” dialog box; tap Join to connect to the device’s network. Alternatively, do it manually; under your device’s available networks, choose the “Tapo_Cam_XXXX” network and return to the Tapo app.
- Hook to your home network. Select your 2.4 GHz Wi-Fi network and enter the correct password to connect the camera to your network. Tap Next to continue. Once the camera connects to your network, you should get a “Wi-Fi connected” voice alert.
- Name your camera. Give the camera a unique name and hit Next.
- Pick a suitable location. Select the appropriate location from the app options and tap Next.
- Setup complete. Tap the “Sound Good” button and finish up the storage selection. Select the cloud option or pick local storage and insert a microSD card.
The camera is now connected to your Wi-Fi network and registered under your Tapo account. Access it from the home screen to try out and customize the settings.
Why Is My Tapo Camera Not Connecting to Wi-Fi?
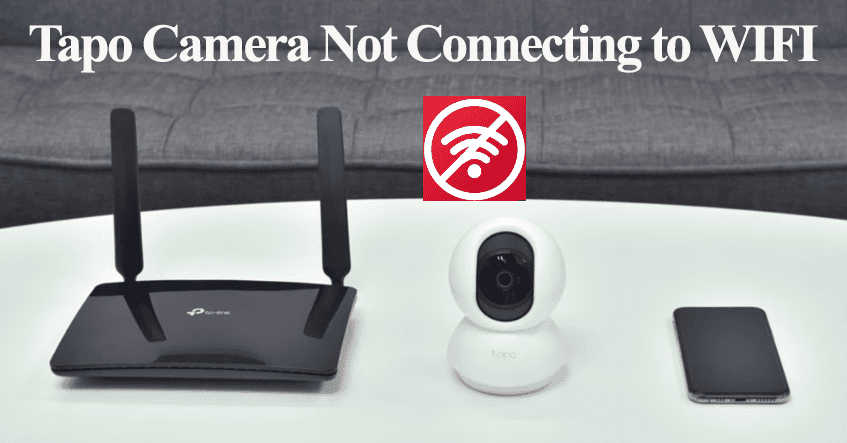
Tapo Camera won’t connect when pairing to a 5 GHz Wi-Fi network, or the camera is out of your network range. When setting up your camera, ensure your device is connected to the same network and your VPN is disabled.
When your camera doesn’t connect to Wi-Fi, it could be one or several factors in your network setup messing things up. Here are some common factors that affect your camera’s pairing process;
- Trying to connect the bulb to the 5 GHz Wi-Fi network. Like most home products, Tapo smart cameras only support the 2.4 GHz Wi-Fi frequency band.
- Running a VPN or Ad-guard on your mobile device. This masks your device’s IP address; it can’t access other devices on your network.
- Placing the camera away from the router (out of your router’s Wi-Fi range)
- Not allowing the necessary location or Bluetooth permission when setting up your camera.
- Ensure your Wi-Fi network encryption is set to WPA2-PSK and the authorization type is AES
- Using an incorrect Wi-Fi network password during the setup process.
- Poor or overcrowded Wi-Fi network
- Router settings blocking new device addition like MAC address filtering, firewall, etc.
Final Thoughts
Hooking up your Tapo camera to your network is a straightforward process. Especially, when you observe and meet all the network requirements.
Ensure you internet connection is on point for effective and swift setup process. A strong internet connection facilitates smooth server sync process and the camera connects in no time.
To avoid the offline issue, ensure the installation point is well covered by your network signal.


