Roborock robot vacuums offer a great and unique option by providing robot cleaners with mopping and vacuuming capability. Instead of having a mopping and vacuum robot vacuum, Roborock offers both functionalities in one. However, when the roborock doesn’t charge, this functionality goes up in smoke. So, why is your roborock not charging?
When the charging contacts are heavily accumulated with dirt, this can cause your roborock not to charge. Again, when the charging plates aren’t correctly aligned, your robot vacuum won’t charge. The other common reason for this issue is a faulty battery.
This article will cover the troubleshooting you can apply to get your robot vacuum back up and running. Let’s dive in.
Why Is My Roborock Not Charging?
Your Roborock won’t charge if dust, hair, or dirt accumulates on the charging ports faulting the charging system. A faulty power outlet, system bugs, or when the battery is incorrectly positioned will cause charging problems. Too high or low temperatures affect robot charging too.
These are some most typical causes of charging problems to your Roborock vacuum;
- Dirty contact points – Dust and dirt accumulation on the charge and robot contacts can cause sensitivity to drop. Therefore, power can’t flow to charge your robot vacuum. Ensure you clean your robot and the charger frequently.
- Dead charging base or battery – If either battery or charger runs faulty, your robot won’t charge. The rechargeable batteries eventually lapse their lifespan and have to be replaced.
- Faulty power outlet – Your robot isn’t charging simply because the power outlet has tripped. Try a different outlet or test the outlet with a different device to see if it works. Ensure the outlet is working and the charger is plugged correctly before trying other troubleshooting methods.
- Outdated Firmware or software bugs – Outdated system software may cause the robot vacuum charging issues. This and other software bugs can prevent your robot vacuum from charging. Therefore, ensuring that your roborock runs on the latest software is essential.
- Faulty Motherboard or Fuse – Power surges can quickly fry your vacuum robot’s motherboard or a component like a fuse. This is a more technical issue that needs some handy expertise to replace the faulty part. You can also visit a service centre to get your motherboard or fuse fixed.
The only positive here is that some of these charging issues are easy to fix, and you can do it independently without escalating the matter.
Roborock Not Charging – Troubleshooting
Follow these troubleshooting guidelines to fix the charging issue;
Check If the Power Source Is Working
I have this one outlet in my apartment that doesn’t seem to work, no matter how I fix it. So, check the outlet connecting to your charging base. Test it with another electronic device like your laptop, phone, or an outlet tester.
If your outlet is tripped like mine, try a different working one. If the power works with other devices, the problem could be with your robot charging connector or the base.
The charging base shows an indicator light connected to a working outlet. It should glow a solid white when properly connected to a working outlet. The charging station is probably faulty if the indicator light is off but connected to a functioning outlet. The indicator light goes off when you connect your roborock vacuum.
It’s about time you order a replacement. Or it could be an issue with the bases charging cord. Inspect the cable for any damages that can lead to it not transmitting power.
Clean the Roborock Charging Contacts
Use a soft cloth (microfiber) to clean off the dust and dirt on your robot vacuum. Dirt and dust accumulation on the charging plates can cause the robot vacuum not to charge as they inhibit the flow of electricity.
As you clean the robot, please focus on the contact plate and ensure they are well cleaned. There are two charging contact points on the robot and another two on the charging base.
Also, give the charging base and the robot a thorough cleaning. Focus on the wheel as dust and debris accumulation may cause misalign the wheel from its chamber. This causes alignment issues when you place your roborock on the charging base.
After cleaning them, try charging your roborock to see if it did the magic for you.
Ensure That the Roborock Is Aligned Correctly on The Charging Base
When your Roborock is not aligned correctly on the dock, the charging contacts are not in touch, and there is no charging. The charging contact plates sometimes fail to sit on each other, especially when you manually place the robot vacuum on the dock. Therefore, your Roborock won’t charge, no matter how hard you try to fix other issues.
When manually placing your robot on the dock, ensure proper contact between the charging plates of the robot vacuum and the charging station.
Remove the cleaning mop before sending your robot to the charging base to ensure the charging plates are correctly aligned. This also helps prevent the mop from soaking to your floor unless you have concrete or tiled floors; it won’t matter.
While at it, inspect the charging base pins; a loosely held one can cause the problem. Ensure that both charge plates are well kept in position and that there are no signs of looseness.
Also, to be sure, you can try charging your roborock vacuum with a different charging base; it could be that the base is faulty without your knowledge.
Check For a Faulty Battery
The roborock battery can last up to two years with proper use and maintenance. A faulty battery can cause your robot charging problems and won’t hold charge. So, how old is your battery? Does it need to be replaced? These are easy questions to answer and should help determine when your roborock needs a new battery.
The roborock battery lasts 2 to 3 years with over 300 charge cycles. This means that it eventually runs its lifespan, and you must replace it. The batteries are readily available in the market or check with the official roborock website.
Reset Your Roborock
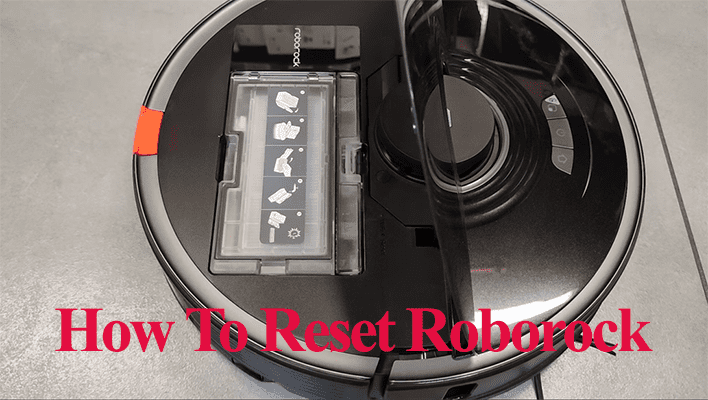
Restoring your robot’s factory settings can help solve software malfunctions that may impact its performance. Be sure to save your schedules and routines before resetting. Factory resetting restores the out-of-the-box configurations and fixes any software bugs that could be causing the charging issue.
This is how to factory your roborock;
- Hold the home button for 3 to 5 seconds
- While holding the home icon button, press the reset button (next to the WI-FI LED) once; the power, home, and spot clean buttons light should go off.
- Keep holding the home button (for about 5 seconds), the power button should blink, and you will hear a voice tone initializing the reset. Now, you can release the home button.
This restores the initial firmware, and you should update it to the latest firmware once you connect your vacuum to the app. Try recharging your device to check if the issue is gone.
Faulty Motherboard or Fuse
As stated earlier, this is a more technical issue that may require a technician or contacting customer support. If all the above solutions don’t bear fruit, all figures point to a faulty motherboard or fuse.
This can happen if your area experiences a power surge, driving excess voltage to your connected device. This short circuits the power fuse or can fry the entire charging unit. To deal with a faulty motherboard, you can;
- Replace the faulty motherboard unit
- Replace the entire motherboard
- Contact Roborock support for guidance.
If you know your way around a robot vacuum motherboard or it falls in your line of work, opening up the device and inspecting the faulty unit shouldn’t be an arduous task. You can replace the component and get your robot back up and running. However, you should know that opening up your device and replacing components voids your warranty.
On the hand, if you are like me and not handy with electrical things, contacting the roborock support is our best bet.
Conclusion
When your Roborock isn’t charging, it can be frustrating. However, through these troubleshooting tips, you should quickly fix the issue. Ensure the outlet isn’t faulty; the charging base should indicate it’s receiving enough power before attempting more complicated solutions.
If all the troubleshooting tips don’t fix it, it’s about time your contacted customer support or a service center for more technical help. With a valid warranty, your issue can be looked at and fixed without spending an extra buck.


