Arlo camera recording allows you to receive video clips of the activity when a motion event triggers the camera. Arlo recording and access via the app works best when you have a subscription plan or on the free trial period. With your Arlo camera not recording, you are bound to miss the activity.
In this post, I’ll walk through the common reasons for recording failure and how to set up your Arlo system for recording. Let’s roll.
Why Is My Arlo Camera Not Recording Motion?
Arlo camera isn’t recording because you don’t have an active subscription plan, the camera has lost its internet connection, or you haven’t set up the local storage. Ensure the camera has a storage option and active network access for the recording.
Arlo offers local or cloud storage for their security systems. To access cloud storage, you must have an active subscription (monthly or annual) or a trial run.
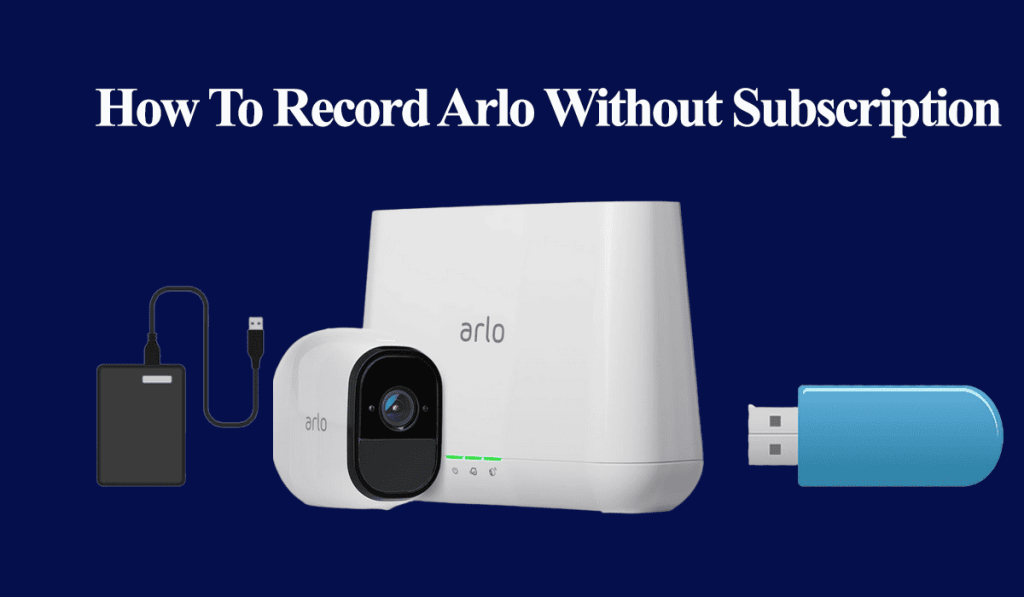
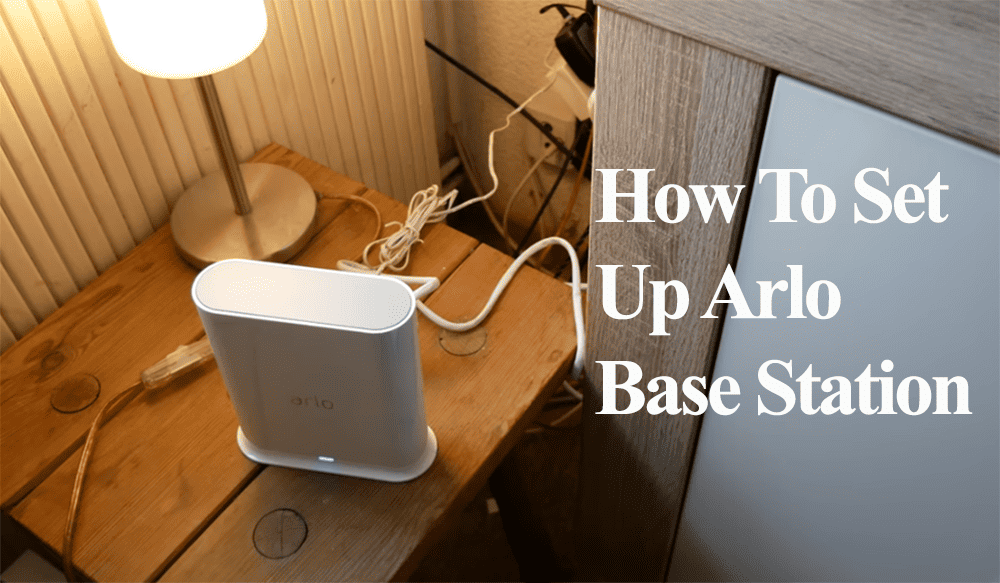
On the other hand, local storage is available via a base station or smart hub. Different base stations have distinct features and compatibility with the Arlo camera models.
It has to be said that the local storage isn’t of much focus for the Arlo team as their marketing is geared towards cloud subscriptions.
That said, there are various reasons why your camera isn’t recording. Here are common ones;
- You don’t have an active storage option (cloud subscription or local storage)
- The camera is offline or has a poor Wi-Fi connection
- Motion detection and sensitivity level
- Camera settings prevent it from recording (rules, modes, filters, or schedules)
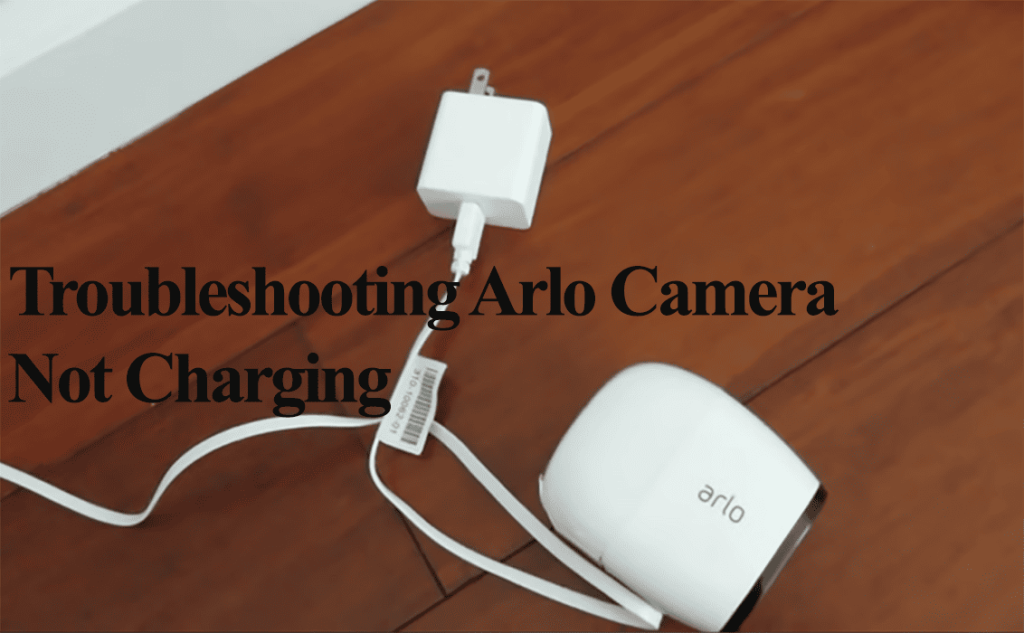
- Power-related issues (low battery for the battery-powered models)
- Outdated camera firmware or software bugs affecting the system
- Ensure the camera is well positioned and remove the lens cover.
Without a cloud storage plan, you won’t get the full potential of your Arlo camera. Here is what works with a without a plan;
- Access Live stream
- Receive push notifications
- Two-way audio
- Auto Zoom and tracking
- Local storage recording option
The last two features aren’t available on all Arlo cameras; check what your camera offers on the Arlo website and its compatibility.
You won’t have access to valuable features like Activity Zones, Smart Notifications, Alarm Detection, etc.
Arlo Camera Not Recording – Troubleshooting
Is your Arlo camera connected to an Arlo secure plan or no plan? This determines where and how you access your camera recordings.
If your camera isn’t connected to a cloud plan, your options are limited by design. You can turn to local storage or adapt to live feed access and notifications.
With a cloud plan, your camera should detect and record motion events, thus, populating the library/feed tab on the Arlo Secure app.
Try these troubleshooting tips to get your Arlo camera recording;
Confirm The Camera Is Online
Arlo cameras require solid internet access to record clips and sync with the cloud servers.
Therefore, before jumping into the nitty gritty of things, better be safe by ensuring your camera is online.
The camera requires internet access and a sufficient power connection to be online. If we are dealing with a wireless camera, ensure it has a healthy battery capacity.
Try accessing the live stream on your camera. If the camera loads with a clear video, it’s actively connected to your Wi-Fi network.
Alternatively, check the camera’s status LED light; a solid blue means the camera is powered and connected. Otherwise, you have a connection or offline issue.
To refresh and reinitialize the camera’s connection, power cycle it and your network devices. To power cycle, unplug the device from the outlet, let it be for 30 seconds, and reconnect it.
The next step is to get it to detect motion and record clips to your set storage plan.
Check Your Storage Subscription
Without direct storage access, your camera must have an active Arlo subscription plan assigned to it. The camera records and stores clips on the Arlo cloud.
To confirm whether your camera is assigned to a plan;
- Open the Arlo Secure app on your mobile device
- Select the Settings option
- Tap Subscription under account options
- Hit Manage Cameras to see cameras under each storage plan
- Under Manage cameras, you can see a list of your plans and cameras. If your camera is under the “No plan” option, drag it to a plan to add it.
For iOS users, log in to your my.arlo.com account to access and manage your camera subscription options.
If your plan has elapsed, you should renew it or switch to local storage to continue enjoying the services.
Power cycle your camera to apply your changes.
What Camera Settings Have You Enabled?
Arlo offers different modes to fine-tune your camera experience. With modes, you decide how your cameras respond to triggers at different times.
Generally, the Arlo camera has four modes;
- Armed – the camera is set to detect and record motion
- Disarmed – The camera won’t detect motion and audio triggers
- Schedule – Specify at what times you want your system armed or disarmed
- Geofencing – Enable and disable your settings based on your device’s location
Here I’ll focus on the armed option; if you have customized the other options, double-check to ensure there aren’t blocking your camera from recording.
The armed mode lets you set your camera’s motion detection, sensitivity level, video recording, etc. Low or high sensitivity affects how easily your camera is set off.
To check your Armed mode settings;
- Open the Arlo Secure app or log in to your account
- Select the “Mode” option
- Choose the affected camera
- Select the Armed setting by hitting the pencil icon
- Tap the pencil icon under the “Rules” option
- Edit the “Motion is detected” section – increase the sensitivity level and save
- Ensure “Record video” is checked
- Hit Done to save your changes
If you made any changes, trigger motion in the camera’s view and confirm your camera records clip to the library.
Alternatively, perform a motion sensitivity test on your camera, open the app > Settings > My Devices > select your device > Device utilities > Motion Detection Test > try different sensitivity levels starting from low to high > the camera’s front LED light blinks when motion is detected > set that as your sensitivity level.
Notably, the test doesn’t update your motion detection settings but helps you find a sweet sensitivity level for your camera.
Update The App and Camera Firmware
Updating your camera and app to the latest versions ensures you don’t miss out on the latest features and bug fixes.
New firmware updates are periodically released to address software malfunctions as they come along.
So, is your system up to date? Check on your respective app store and update your app accordingly.
The same goes for the firmware. If your camera has a pending upgrade, initiate it to get your Arlo device’s latest features and functionality.
Remember to let the upgrade complete; disrupting an upgrade could brick or permanently damage your camera.
Reset The Camera
You should get a recording if your camera is perfectly connected to an active network and the settings are on point. If this isn’t the case, there is probably an issue with the camera firmware.
Resetting the camera helps clear corrupt firmware files affecting your camera’s functionality.
Unlike a factory reset, a soft reset refreshes your camera system without deleting it from your account.
To perform a soft reset, simply power cycle your camera. Disconnect it from the power for a minute or two and reconnect.
Use the restart option on the Arlo secure app for essential wire-free models. While for other wire-free models, pop out the batteries for about 30 seconds and reconnect.
Factory resetting deletes the camera from your account and restores the default settings. You must set up the camera via the app to continue using it.
To factory reset your Arlo camera;
- Ensure the camera is well powered
- Press and hold the sync button for 15 seconds
- Once the status LED blinks amber three times, release the button. Don’t hold the sync button for too long.
After resetting, pair the camera via the app, customize your settings, and test the recording.
Contact Arlo Support
If nothing suffices, contacting the Arlo support team isn’t a bad idea.
Reach out to them and highlight the troubleshooting solutions you have tried in vain. They should get back to you with available options. It could be that your device needs replacing – a new unit isn’t bad, is it?


