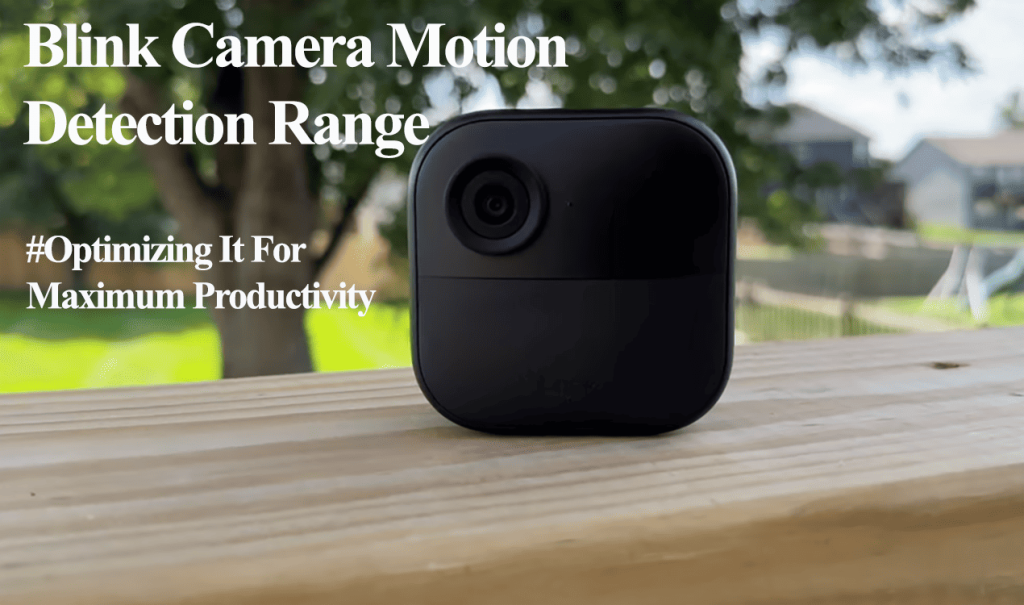
The sensitivity setting is one feature you want to get right on the Blink camera security system as it affects how the motion detection works.
With a high-sensitivity setting, you are bound to get lots of alerts and recordings on your system as the system is easily scoped. On the other hand, with low sensitivity settings, the camera may miss out on actual action from small or far away objects.
Based on your choices and preferences, you ought to find a perfect balance between the two to get the most out of your Blink system.
I’ll walk you through a detailed explanation of the Blink sensitivity setting to help you set it at the appropriate level.
Understanding Blink Sensitivity Levels
Blink cameras use a passive infrared (PIR) sensor to detect motion. This sensor is designed to detect changes in temperature in its field of view, barring Blink mini cameras that sense visual differences between moments.
When a person or object moves within the camera’s range, the PIR sensor detects the temperature change, triggers the camera to start recording, and sends a notification.
The detection isn’t necessarily decided by the size of the objects but by the amount of motion in the camera’s view.
Based on a Low (1) to High (9) scale, the sensitivity level determines how easily your camera is set off. However, other factors like camera placement come into play.
To achieve a sweet spot, you have to use the trial-and-error method and try different sensitivity levels. Your satisfaction depends on your preferences and the camera location.
While testing the different sensitivity levels, ensure that motion detection is enabled and your Blink system is armed.
Generally, a sensitivity level between 5 – 7 offers the best results. Not too high for false alerts or low to miss out on activities.
Here are some factors affecting your Blink camera detection and sensitivity;
- The camera angle of view – Blink recommends that the camera be set up so that motion or objects move across and not towards the camera’s view.
- Camera positioning – the installation point should be high enough to avoid triggers from small animals. Place your camera within 5 to 20 feet (about 1.5 to 6m) of the area you want to monitor for optimal motion detection.
- Sensitivity Level – Increase and decrease the sensitivity level until your system delivers your desired results.
Low Sensitivity Vs High Sensitivity
Primarily, Low sensitivity means that the camera requires more motion over a more extended period to trigger the camera.
Here are talking of the range 1 – 3 on the sensitivity scale. The camera struggles to detect motion, especially from a distance.
On the other hand, High sensitivity means the camera is triggered with less motion over a shorter time. The system is prone to false positives like movement on nearby tree branches.
As mentioned, the motions event triggers are based on the detected objects and the time duration of the movement.
We can quantify that sensitivity level determines the motion required to trigger your camera.
To reduce the false positives on your Blink camera systems. You can use the activity and privacy zones to block off areas where motion shouldn’t trigger your camera.
Activity Zones
This allows you to specify which areas of the camera’s field of view you want to monitor for motion.
For example, if you have a Blink camera mounted outside your front door, with some tree leaves close by. You can use the Activity Zones to blur out the tree zone, avoiding motion alerts from the swaying leaves.
To create your activity zone > navigate to camera settings > tap Zones > Select Activity zone > Grey out the unwanted area > and tap Done to save your changes.
Privacy Zones
These zones allow you to select specific areas within the camera’s view that you don’t want to trigger motion detection.
You can completely block off motion detection from the select zones.
For example, if your camera is facing a busy street, you can create a privacy zone to avoid alerts from passing cars.
To create a privacy zone, follow these steps:
- Select the camera you want to adjust > tap the settings toggle
- Select “Zones” and then Privacy Zones.
- Add a zone by greying out the unwanted areas
- Click “done” to apply the changes
Read Also: Blink camera settings
How Do I Adjust the Sensitivity on My Blink Camera?
To adjust the sensitivity level on a blink camera, launch the camera settings page, enable the motion detection toggle, and set the sensitivity slide to a value on the scale.
The sensitivity level is camera-based; therefore, you have to set each level for all your cameras.
- Open the Blink app
- Tap the settings icon (The three horizontal lines) on the camera
- Under your camera settings, enable the motion detection toggle
- Slide the Sensitivity level slide towards Low (L) to decrease or High (H) to increase
- Hit the top right Save button to apply your changes
- Repeat the process for all your Blink cameras
On the home screen, tap the “running man” icon to arm the specific camera or the arm button (on the bottom) to arm the whole system.
The icon turns blue when the camera is armed. Walk into the camera’s view and test if you trigger it to record and send alerts.
Frequently Asked Questions
How Far Away Will a Blink Camera Detect Motion?
The default Blink camera motion detection range is approximately 20 feet. This distance greatly varies with your camera sensitivity and IR settings, the illumination, camera placement, and the size of the detected object.
What Is a Good Sensitivity for A Blink Camera?
Generally, a sensitivity level of 5 – 7 offers the best Blink system experience. This isn’t high for many false alerts and is high enough to guarantee you don’t miss out on motion events.


