The hue bridge acts as the brain of the Hue lighting system. It facilitates control and organizing of the Hue lights. Primarily, the hue bridge is designed to connect to the network router through an ethernet cable. This begs the question; can you connect the hue bridge without an ethernet cable?
You can connect the hue bridge to your router without an ethernet cable. By using a router set to operate in bridge mode or reworking the inner circuit configuration of your bridge, you can turn your bridge to work in a wireless mode.
The hue bridge comes with an inactive Wi-Fi mode, surprisingly. Tech-savvy individuals can tweak this to enable the bridge to operate in Wi-Fi mode, or you can choose to buy an extra router and use it in bridge mode.
In this guide post, we’ll see the two ways to operate your bridge “wirelessly.” Read along for more details.
How To Connect Philips Hue Bridge Without Ethernet?
To connect your Hue Bridge without an ethernet cable, you can use an extra router in bridge mode and connect your bridge to it or work the inner circuit of your hue bridge to enable the disabled WIFI modem in the recent hue bridge 2.0 router.
As you might have observed, there are two ways you can use to operate your bridge wirelessly. Now, let’s look at them in detail.
1. Use A Router in Bridge Mode
Although this method requires spending some extra bucks, it provides a convenient way to connect your bridge wirelessly. There isn’t a need to have ethernet cables running all over your house to where your hue bridge is.
To achieve this, you must purchase an extra router that can operate in bridge mode or as a Wi-Fi range extender. The bridge mode allows connection between two routers in the networking field. It makes the router disable the Network Address Translation (NAT) feature and will enable it to function as a DHCP server without causing IP address conflicts with your primary router.
After buying your router, one with bridge capabilities like a TP-link router and has an ethernet port, all you need is to set it up in your desired location and connect your bridge. Once set up, the router acts as an extender and widens your network range.
That said, how do you set up the router in bridge mode? Follow these steps to implement.
Step 1: Choose A Location for Your Router
The location should be within the range of your primary Wi-Fi. You will also need access to two power outlets for your router and hue bridge. Once you are satisfied with your location, move to the next step.
Step 2: Configure the Router as An Extender
You need to configure your router to operate in bridge mode. This involves logging in to the router administrative console, accessible through a web browser. Connect your TP-Link router to your PC through an ethernet cable and power it. Now, find the router’s default IP address on the bottom side of your router. Open a browser and search the IP address on the search bar.
- Using the default login details, login into your router console (username: admin and password: admin) is a common default login credential.
- Once you have logged in, choose the quick setup and click next. It’s a more accessible and faster option.
- Select the “Range extender” mode, then click next.
- Your router scans for the available wireless networks; once found, tick your primary Wi-Fi check box and click next
- Set up the TP-Link network. Select your desired security (WPA/WPA2-PSK) and your network SSID. Enter the password you use on your primary network to connect. When you’re all set up, click next.
- Leave the other settings as default or match them to your primary router settings if you’re to change. Now, click next.
- When you are satisfied with the setup, click “Finish” on the bottom, then “Reboot,” and finally “Ok.”
Let your secondary router restart, and now it’s set up in bridge mode.
Step 3: Connecting the Hue Bridge to The Bridge Router
Now that the second router is successfully operating in bridge mode. It’s extending the primary router network and not performing NAT services; you can connect your hue bridge to it.
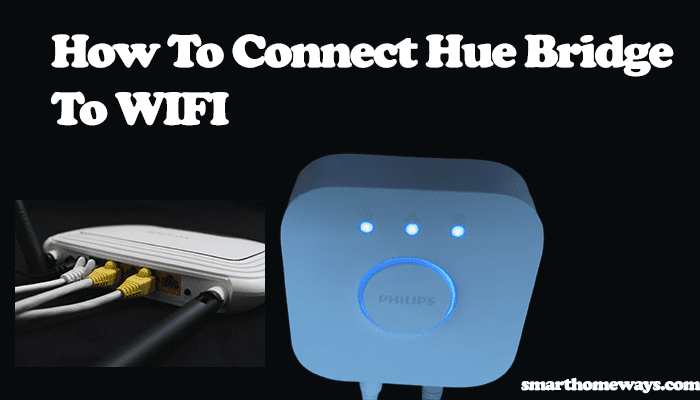
Unplug your ethernet cable from your PC and connect it to the hue bridge port. Next is to power the hue bridge. Use the power code to connect it to a working power outlet. Let your bridge boot and give it minutes to connect to the network. If it’s correctly connected, all the three lights on top of the hue bridge glow.
If it’s a successful connection and all lights are glowing, congratulations, you did it; now you can move ahead and connect your app to the bridge. Read about Hue bridge not connecting to the internet to troubleshoot any connection issues.
Step 4: Connecting Hue Bridge to App
Download the hue app from your respective store (android or iOS), then follow these steps;
- Open the Hue app. Your phone should be connected to the same Wi-Fi network as your bridge.
- The hue app searches for a bridge in your network. Once found, click on the “Set Up” button.
- Now press the big center button (link button). Your app then connects to the hue bridge. If updates are available, proceed to the next steps.
- Update available; click on the “Update” button. It’ll update your bridge to the latest software; give it a moment to download and upgrade.
- Click on the “Done” button. Congratulations, you’re all set to go.
Now you can use the bridge app to configure and control different hue devices.
2. Rework The Bridge Inner Circuit Configurations
As stated earlier, this is the second method to enable the bridge’s wireless capabilities. Albeit a bit tech-savvy, this method permanently allows the disabled hue bridge Wi-Fi modem. However, going down this road voids your hue bridge warranty, and you can’t make claims based on it.
Primarily, the hue bridge has a disabled 802.11n/g Wi-Fi radio. Enabling this radio helps your bridge to operate wirelessly. Here are the steps to do so;
- Open the back cover of your hue bridge by unscrewing the back cover and removing the cover. This gives your access to the motherboard.
- Next, you need to solder a header (1 x 6 header) to J6 and use a board connector to connect the pins.
- Now, use your PC to load the bootloader, gain root access to the hue device, and overwrite the existing settings.
Through those steps, you will have successfully turned your hue bridge into a wireless device. You can test your skills by trying to connect to your network.
Conclusion
As we have seen, connecting a hue bridge without an ethernet cable is feasible. Although you still have to use an ethernet cable in one way or another. Through the two methods discussed above;
- Using Use a router in Bridge Mode
- Reworking The Bridge Inner Circuit Configurations
These methods provide a way to connect your bridge wirelessly to your network. If you aren’t tech-savvy like me, I’d recommend the first method as it isn’t as complicated as the second one. All you have to do is spend some extra bucks for the second router.
Well, I am not against the second method; if you are comfortable with soldering iron and voiding the warranty isn’t a bother, then you are free to venture into it.


